Reading my father's Model
Railroader magazines filled me with ideas. From the age of 8 I drew track plans
and more track plans... all of which, inspired by the pictures and plans from
the magazines. I had no overall goal... only to get the trains running so the
plans varied from loops to shelves to basement empires. Burlington Northern
seemed to me to be a "neat" prototype, for no other reason than
"I liked the colors". Finally, in 1979 Model Railroader
published their Clinchfield project railroad and it captivated me... N scale, modular,
lightweight, portable, prototypical and well researched! I combed the articles
over and over again wanting to absorb it all.
Christmas of 1980 found us in
Vancouver. I was 11, and I convinced my father to take me for a short ride to a
hobby shop I had discovered in the small print ads at the back of his magazines.
Pacific N Scale in North Vancouver. I couldn't sleep the night before. I imagined a giant store, teaming with
display cases and dioramas with all manner of N scale wonders. The shop was actually an 8 foot counter tucked into the back corner of a bookstore with a
man behind it. We, the customers, stood in the 30 or so inches between it and
small shelves crammed with N scale items... but I was not disappointed.
This was MY trip to the hobby
shop and, for the first time in my life, the clerk addressed ME and not my
escort. He showed me great things... Shinohara's prototypical code 70 track and #7 switches
were brand new as was the Atlas RS-2 and both were demonstrated to me on a 3
foot length of flex test track set up on the counter. Up until that time my
experience with model trains had been that of our Aurora (Trix) "Postage
Stamp" F9 growling, jumping and jacking along antiquated sectional track
and through our sole turnout which, looking at it now, seems to be about a #2
or #3. This machine was totally different, crawling silently from tie to tie,
handrails to scale and details so fine that I had to squint to see them. Before
this, if you wanted smooth running N scale engines it involved the destruction
and rebuilding of the only two decent mechanisms available (Con-cor's PA-1 and
the Trix U-Boat) by a master craftsman who, judging from the articles written
about it, had to be a cross between a miniature machinist and the Wizard of Oz.
Even then the aesthetics were crude: Molded on details and oversized flanges
with very little choice in terms of body styles unless you were the magician
mentioned above and could somehow cram the mechanism into your kitbashed body
shell.


I left the little shop (which
would one day evolve to become the shop I dreamed of in the form of Pacific
Scale Rail in New Westminster) with an arm full of Shinohara products: a dozen
lengths of flex track, a 3 switch yard ladder and enough switches to build
myself a small shelf switching layout I had been planning. My father left, I believe because of my interactions with the clerk, with the understanding that my passion for the hobby had now eclipsed his and was of great importance to me. Also in hand was the
Model Railroader compilation of the Clinchfield series of articles in booklet
form with bonus content. It was a "Merry Christmas" indeed! The trip
back home to Saskatchewan was very quiet for the rest of my family... I was too
busy reading and dreaming to be of any kind of nuisance to anyone.
I built the small shelf
layout on a 7' by 15" length of plywood. CN was the prototype (because
that was what my F9 and Bachmann GP-40 were) but the rest was freelanced.
"Off the shelf" buildings and rolling stock populated it but it was
never finished to the point of scenery as teenaged antics overtook my life
before this could be completed. The years went by with not much to do about
model railroading aside from the odd "railfanning" here and there.
The models were put away and my shelf stood in a corner, unused. I never forgot
the dreams I had had; I only set them aside until I would be able to do them
justice.
 My move to Red Deer at the
age of 19 revived my modeling bug due to the effect of boredom brought on by
being separated from my long-time friends. It was at this point that I began to
seriously seek out a prototype to follow... Red Deer offered some interesting
scenery and operation, Kindersley's CN operations I had a connection with but
then... I remembered the grey, yellow and blue of the N.A.R. locomotives as
they worked the Peace River valley. So, I researched and the more I researched
the more I found that the N.A.R. in the Peace country fit my needs: Unique
engines, the short line feel, the interaction with the "Big Boys" (CN
and CP), the incredibly interesting operations and scenery in the Peace valley,
a rich and colourful history and my personal connections with the railway all
intertwined with memories from my childhood. It was perfect!
My move to Red Deer at the
age of 19 revived my modeling bug due to the effect of boredom brought on by
being separated from my long-time friends. It was at this point that I began to
seriously seek out a prototype to follow... Red Deer offered some interesting
scenery and operation, Kindersley's CN operations I had a connection with but
then... I remembered the grey, yellow and blue of the N.A.R. locomotives as
they worked the Peace River valley. So, I researched and the more I researched
the more I found that the N.A.R. in the Peace country fit my needs: Unique
engines, the short line feel, the interaction with the "Big Boys" (CN
and CP), the incredibly interesting operations and scenery in the Peace valley,
a rich and colourful history and my personal connections with the railway all
intertwined with memories from my childhood. It was perfect!
So I continued my research
and eventually plans were made to fill an 11' by 17' room in the basement. The
model would be highlighted by scenes from my younger days of trips to the area
and locations of personal importance to me: The gas station in Fawcett my
father seemed to always stop at, no matter what time it was. My great
grandfather's old mill site that is now the family campgrounds near Donnelly.
My great uncles farm at the entrance to Donnelly along with my grandfather’s
dealership in town. The alfalfa plant in Falher. My grandfather's homestead and uncle's
farm in St. Isadore. The Heart River bridge which, to me as a child, seemed to
float in mid-air and, located at the south end of it, a small house that, when I
was 4 and 5 years old, I concluded was where my imaginary friend "Johnny
Horton" lived (probably because, to me, it seemed inaccessible except by
the traversing on foot of the bridge and therefore my sisters would not
discover my deceit they so often quizzed me about). Other scenes I wanted to
include were in the town of Peace River itself: The KFC by the station that was
thought to be such a treat to stop at. Fred's bakery which was fun to open the
door of just to get a nose full of the wondrous scents that emanated from it.
The gas station by the trestle at the entrance to town which no longer existed
and.... without a doubt... the "Dog House" drive-in... which had the
soft ice-cream that was the highlight of any trip to "Peace". Further
down the line would be Roma, the yard we would fly over on the overpass while
traveling back home to High Level and Fairview and High Level's industrial area
where I had spent much time watching trains, many years before.
Track plan from 1988
One scene I wanted to include
that was not from my history was the mine at Pine Point, which I had never
seen. The "empties in, loads out" operations that I had learned about
in the Clinchfield series could be reproduced here, right down to the helix
which connected the two ends of the system so that the illusion of empty cars
entering the mine and loaded ones coming out could be most effective. Staging
was also a large part of the operational scheme in that early plan. I look back
on the track plan now and find it surprising that I placed so much importance
on this as, at the time, the use of staging in model railroads was a luxury or
an afterthought only found on those systems with more than ample space
available and used solely by those who demanded realistic operations above all
else... which I did not. To me, the recreation of the scene was of utmost
importance. The trains and the operation thereof only the setting for those
scenes... A means to an end.
This plan never developed any
further than paper as time, space, money and, mostly, women conspired to
confine my dreams to the vestibules of my mind. Later, when I was long haul
trucking, I filled the endless hours I spent behind the wheel scheming for a
way to release these dreams in the form of a real, live model railroad. That
was when my current idea for the layout was born.
Current plan showing the module layout
Modules are 30" x 90"
Actual track arrangement, Peace River, 1979... as far as I can tell
(courtesy Google Earth)
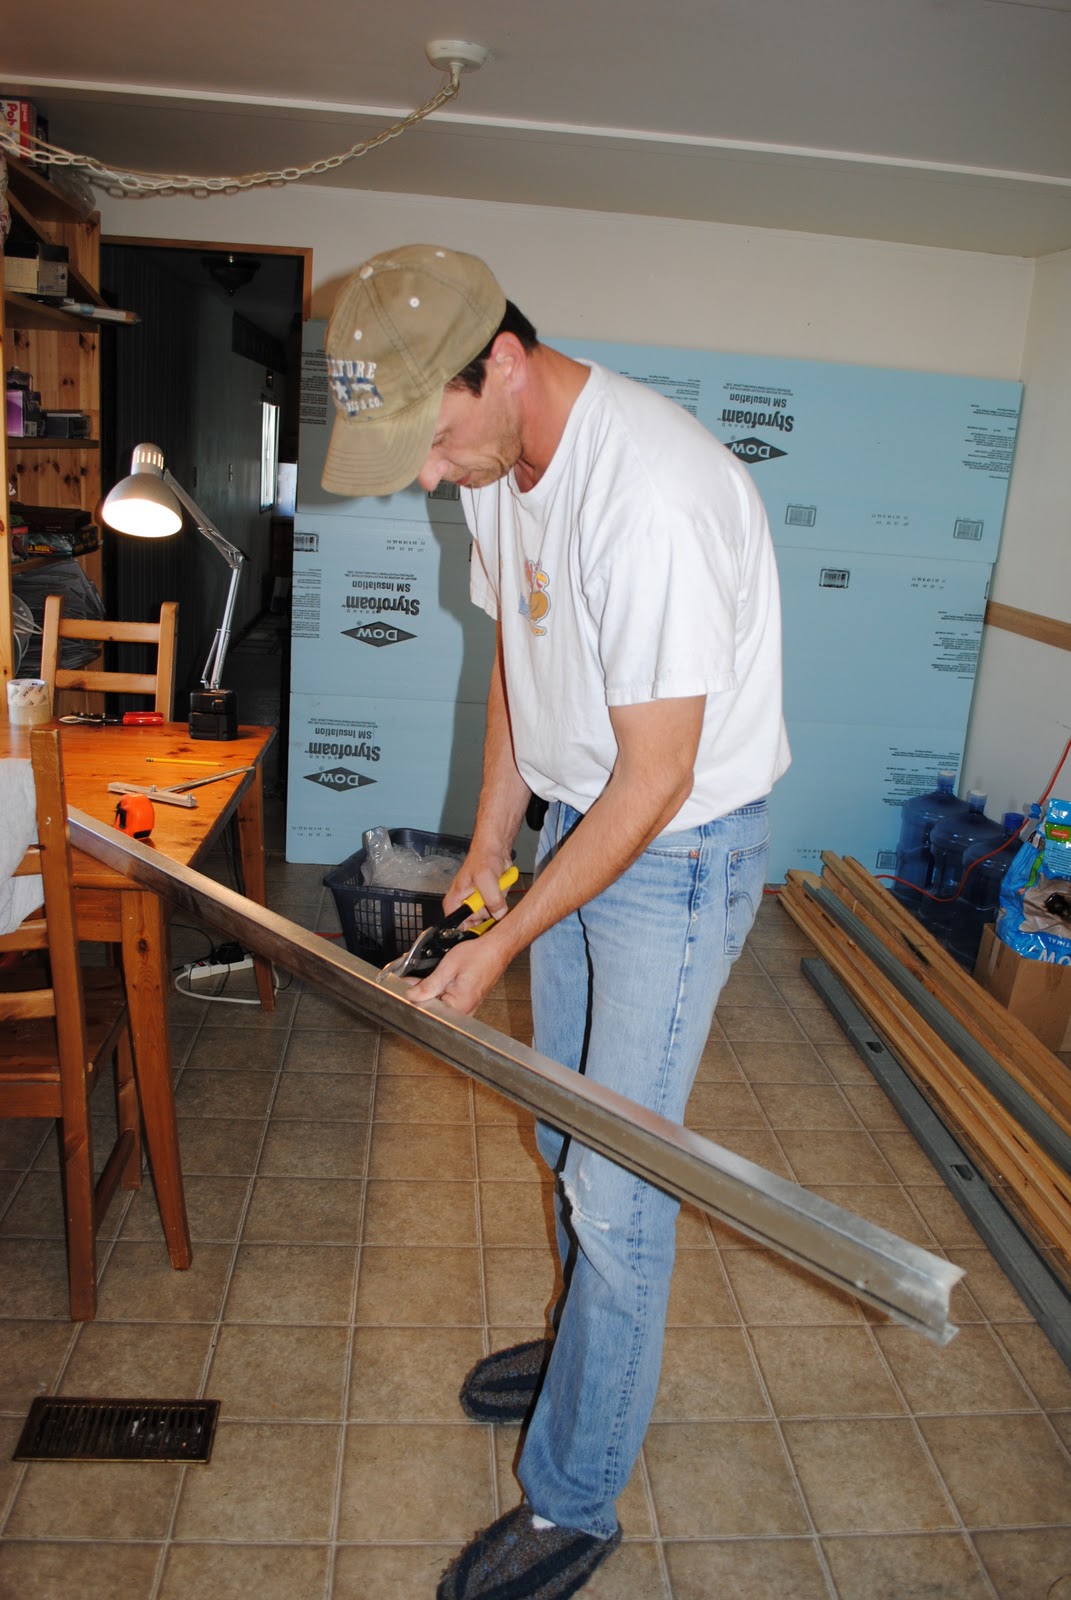
Again, I reverted to what I
had learned from the Clinchfield project. Light weight modules of metal frames
and foam scenery, created for display that were easily transported and... STORED!!! Of course!!! I
could store my railroad when not in use!!! The answer to the space problem, and
transport it to places where I could collaborate with other, like minded,
hobbyists (aka "weirdo’s") like me. The options were almost
limitless! The concessions I had made in earlier plans could be thrown out the
window! No more compressing the Peace River Bridge to 3 feet long or
unrealistic scenes, that were supposed to be vast, crammed into little corners,
or the omission of vital trackwork because space did not allow. I could have it
all; the scenes I wanted, the operations I had neglected, the accurate
portrayal of the prototype, the interactions with other modellers and, most of
all, the ability to use N scale to its full potential by truly dwarfing the
trains with their surroundings.
Mock up of the Peace River modules
Below is a concept drawing of what I would like to accomplish.
(The skirting being the finishing touch)
Space problem... Solved!
Now... onto other problems...
Time,
Money...
and, of course, Women...
the consumer of both!


