Saturday 31 December 2011

Pat's Creek Trestle

There is very little historical information on the trestle built to span Pat's Creek, but just about everyone who has been to Peace River has travelled right through it. It is, of course, the trestle that you drive under when leaving Highway #2 and coming into the towns main entrance, near the Travellers Motor Inn and the NAR Station... And, yes! There is a creek there but it has been piped and routed underground and now forms part of Peace River's hidden infrastructure.

Google Earth is great!
Pat's Creek is named for a metis man, Patrick Wesley, who owned the land adjacent to the creek in the present day town site. In 1910, after contracting smallpox and being cared for by the Anglican minister's wife, Mr. Wesley passed away, willing 5 acres of his land to the Anglican parish on the condition that he be buried in the shadow of the new church to be built there, the present day site of St. James Cathedral and Athabasca Hall.

Patrick Wesley
I assume that the original trestle was built in early 1916 when the rails reached the location where the station was built. Originally built without the "underpass" feature that allows vehicles to cross, the trestle was modified at a later date to accommodate the highway that followed the creek down from the prairie above. The highway was moved in the late 60's to its present location due to land slides and the old right-of-way now serves as an interpretive walking trail. The creek used to cross under the bridge beside the roadway you see in the photos below until it was diverted underground.

What would I do without "Street view"?

During the period I'm modelling (1979) this was the only entrance from Highway #2 into the southern portion of town. The newer exit off the highway further to the west was, at the time, not a roadway but used by the NAR to cross under the highway to the short switchback that allowed access to the riverside industries along the east bank of the river (on the, unheard of, 6% grade... better have some sand boys).

Did I mention that I really like this Google Earth thing?
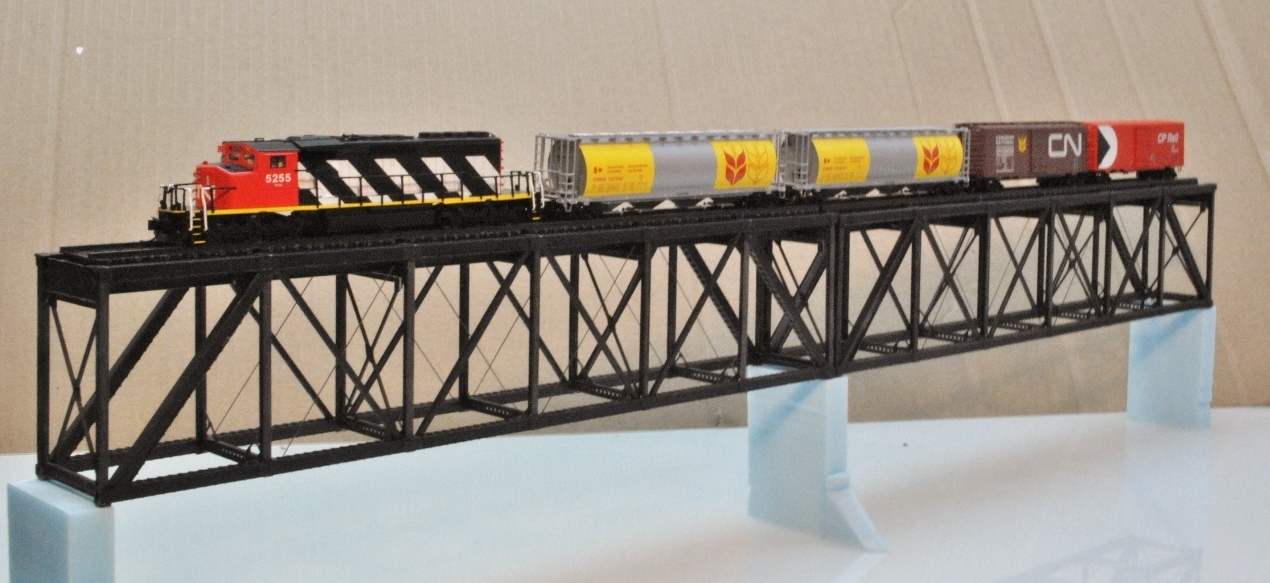
I will be modelling the trestle with the Hunterline 81' Pile Trestle kit, two Hunterline Pile Pier craftsman kits and one Micro Engineering 40' deck girder bridge.

Beautiful kits... and Canadian made too!


I haven't started work on this one as yet but I plan to as soon as the Peace and Heart River bridges are ready for track. So, wish me luck (this is my first wood craftsman type construction) and check back on this post for updates.

Mike

Heart River Bridge

Completed in May of 1916, the Heart River bridge was the final link needed to bring rail service to Peace River, then called "Peace River Crossing". Once the trains descend the hill from Judah into the Peace River valley on a grade that fluctuates between 2.4 and 2.9% (at one time, and maybe still, the steepest mainline grade in Canada) the tracks cross the Heart River on the eastern edge of town on a beautiful bridge made up of 11 plate girder spans and a deck truss span for the river itself, all supported by 6 spindly towers that don't look like they should be able to support the weight. In total the bridge is 590 feet long and towers 140 feet above the water.

Preparing to place the last span
Twelve Foot Davis Ball Park at the foot of the bridge

Looking East across the Peace River (see the grade in the bridge?)

1978 - 3 of the 4 NAR SD38-2s headed south
The natural starting point to model this bridge was Micro Engineering's "Tall Steel Viaduct". I used 2 full kits with the 40' connecting spans and another single tower extension. For the deck truss portion, again I turned to the Central Valley Pratt Truss bridge kit as I did with the Peace River bridge, but this time I built it with 5 panels just like the prototype.


I was a little disappointed with the quality of the Micro Engineering kits as compared to the Central Valley kits. The plastic used by M.E. tends to tear and break rather than cut, even when using a new #11 x-acto blade and there are many needless sprue parts that must be cut from the castings. The level of detail was also not as good as I expected. Don't get me wrong, it still produces a very nice model but when building it you must be very careful and take your time. The model does come very close to looking like the real Heart River bridge and captures the over-all "look" of the structure very well with only slight differences that will be difficult for the non-expert to spot.

This picture was taken "upside-down" during construction and flipped. The towers are not yet attached to the girders in the photo.

I modified the kit in several ways: The prototype, as seen in the photos, seems to be built on a gradient (about 1.5 or 2% from what I can tell). So is the model bridge. To incorporate the model's 4% grade I had to build the towers with one side a scale foot and a half taller than the other so that the towers would sit vertically and not look like they were leaning once the bridge was constructed and in place on the layout. This helps mask the relativly steep incline of the bridge.
I also cut the towers to mimic the real bridge's towers, removed the top portion of the towers that support the deck truss span and added supports (I got lucky and found that the height of the top tier of the towers was almost exactly that of the Central Valley kit).
Stiffeners made of wood strip were added to the centre of the two deck girder portions to keep the bridge from sagging.

Bridge on a temporary "land form"
The model bridge measures 42" long and the rails will be 10" above the model river once the foam base is cut down 1". This scales out to 560' long and 133' high (or about 94% of the real bridge)

The bridge turned out even better than I expected and I am very pleased that I was able to capture the over-all look of the real bridge. A few details are yet to be added such as the walkway that ran along the east side of the bridge and the jutting timbers on the west side that carried telephone/telegraph lines across the chasm. The footings for the towers have yet to be installed and the deck still needs actual rails...

I was going to use Micro Engineering's "bridge track" which has guard rails and longer ties that are spaced closer together than normal track but I found that, to install the walkways, the ties were too short and the tie strips included in the Central Valley kits were much better suited to the project. This means, though, that I will have to hand lay the code 55 rail and code 40 guard rails. Thankfully the Central Valley tie strips are built for just such a foolish endeavour.

Like the Peace River bridge posting, I will be adding to this one as work on the bridge progresses, so check back when you can. Thanks.

Mike

Peace River Rail Bridge


The Peace River Rail bridge, along with the iconic auto bridge, will be the centre piece of the whole layout. A faithful reproduction of the two unique bridges will enable the viewer of the layout to immediately recognise that this is Peace River, Alberta.
 
 
View from the air, looking north


Construction of the prototype railway bridge was started in January of 1917 and completed on November 8th, 1918 at the, then, scandalous price of just under $1 million plus a further grant of $175 thousand from the Alberta government to plank the bridge and install railings so that it could be shared with road vehicle traffic. This arrangement lasted until 1968 when the auto bridge was opened.

Post Card from the 1920's, looking east.

The bridge consists of 11 spans: The centre "Through Truss", 3 Deck Truss spans on either side of that and 2 girder bridge approach spans on either bank for a total length of 1736 feet.


Modelling this landmark will present a challenge. I began with Central Valley Pratt Truss Bridge kits. Heavily modified, I can use these to model the main superstructures' 7 spans.

Central Valley Pratt Truss Bridge (Great detail!)

Although the Deck Truss spans of the real bridge consist of 7 "panels" each, the dimensions of the Central Valley kit dictated that I construct the spans with only 6 panels. A compromise that I believe will only be noticeable to the most knowledgeable of viewers.


Other deviations from the prototype are the absence of much of the cross bracing. I decided to leave this out for fear that the model would become too cluttered looking and lose the "airiness" of the prototype. Once the bridge is complete I may decide to add this detail.

So far I have only built 2 of the deck truss spans and these still need to have their walkways added but keep looking back at this post because I will be adding to it as the bridge progresses. Once completed the model will be 103" long and span a complete module and parts of the two adjoining modules, a scale 1373', or 80% of the actual length.


The challenges ahead are how to model the 2 types of unique concrete piers (seen below) that support the bridge and the building of the approach spans on either side of the main structure.


Stay tuned!!!